Blog
Upload a cover file
Hederis will automatically include your book cover in the generated EPUB file, and will include any image files that are in your book text. To include cover and images files, upload them before you upload your Word manuscript, as indicated on the Hederis user interface.
To designate an image as the cover image, simply click on it to select it.
Images with captions, sources, or other extra content
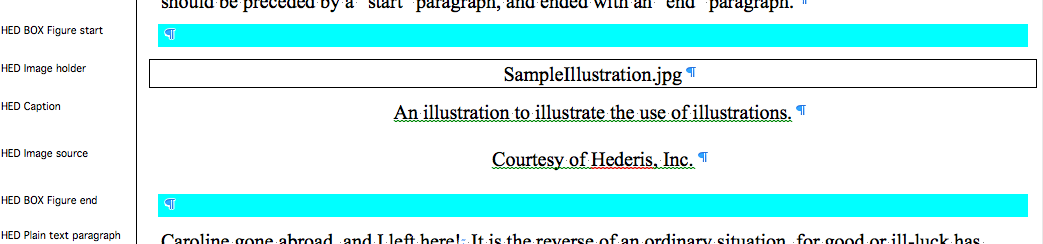
If your image has a caption, source credit, or other extra content that goes along with it, it needs to be wrapped in a Figure wrapper (see “Add a Wrapper” to learn more). This will ensure that the caption, source, etc. are kept together with the image that they go with. Here’s how to do it:
Insert a new paragraph before the first item in your image content (this may be your image holder paragraph, caption, source paragraph, or something else).
In the Styles list, find the “HEDBOX Figure start” paragraph, and click to apply it to your new paragraph.
Insert another new paragraph after the last item in your image content.
In the Styles list, find the “HEDBOX Figure end” paragraph, and click to apply it to your new paragraph. Your Word manuscript should look like this:
Add an image in Word
Hederis supports images in your book text. To include an image:
Insert a new, blank paragraph in the location that the image should appear.
Apply the style “HED Image holder” to your new paragraph.
In the paragraph, type the file name of the image, with no other text. It should look like this:

Once you upload the image file to Hederis (see “Upload cover and image files”), the app will know to place that image file in the location you specified by inserting your image holder paragraph.
Note: If your image has a caption, source credit, or other extra content, there are a few extra steps. See “Images with captions, sources, or other extra content” for more.
Force a page break (PDF-only)
While our pagination algorithm does its best to break pages in the best location, sometimes it falls short of your expectations. You can use character styles and processing instructions to insert page breaks after specific words or characters, or after a specific paragraph. These page breaks will only appear in your PDF, and your EPUB will still reflow and break naturally.
Force a page break after a specific character
You can insert a page break after a specific word or character in your text by using character styles. Here’s how:
Find the word or character that you want the page to break after. This character will appear at the end of the current page, and any text following it will appear at the beginning of the next page.
Select the word or character, and in the Styles pane (see “Fine-tune Word Styles” for more about the Styles pane), click to apply the HED SPAN Page break after character style.

You won’t notice a major change in your Word document, but the next time you create a PDF, you should see the page break in the location you chose.
To remove the break: select the text again (we recommend selecting a bit of extra text before and after the styled text as well, just to be safe), and in the Styles pane, click the Normal character style to apply it.
Force a page break after a paragraph
To force a page to break after an entire paragraph, you’ll use a processing instruction (see “Add special layout instructions” for more background info). Here’s how:
In your Word document, find the paragraph that you want the page to break after.
Insert a new paragraph directly after that chosen paragraph.
In the Styles pane, find the HED Processing instruction style, and click to apply it to your new paragraph.
In your new processing instruction paragraph, type the following:
ATTRS=class: pageBreakAfter
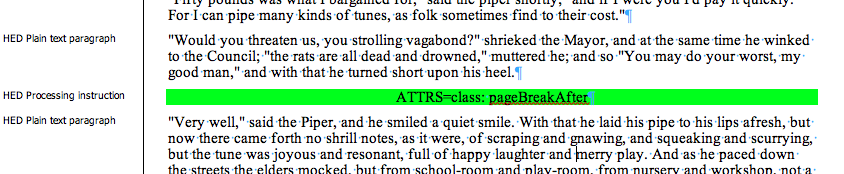
The next time you create a PDF, you should see the page break in the location you chose.
To remove the break, simply delete the new processing instruction paragraph that you created in the steps above.
Force a line break (PDF-only)
If the lines in a paragraph aren’t breaking quite where you’d like them, you can use character styles to adjust them. Use the HED SPAN Line break after character style to force a line to break after a specific word or character. These breaks will only appear in the PDF, and your EPUB file will still reflow and break naturally. Here’s how to insert specific line breaks:
Find the word or character that you want the line to break after. This character will appear at the end of the current line, and any text following it will appear at the beginning of a new line.
Select the word or character, and in the Styles pane (see “Fine-tune Word Styles” for more about the Styles pane), click to apply the HED SPAN Line break after character style.

You won’t notice a major change in your Word document, but the next time you create a PDF, you should see the lines break in the location you chose.
To remove the break: select the text again (we recommend selecting a bit of extra text before and after the styled text as well, just to be safe), and in the Styles pane, click the Normal character style to apply it.
Adjust letter spacing (PDF-only)
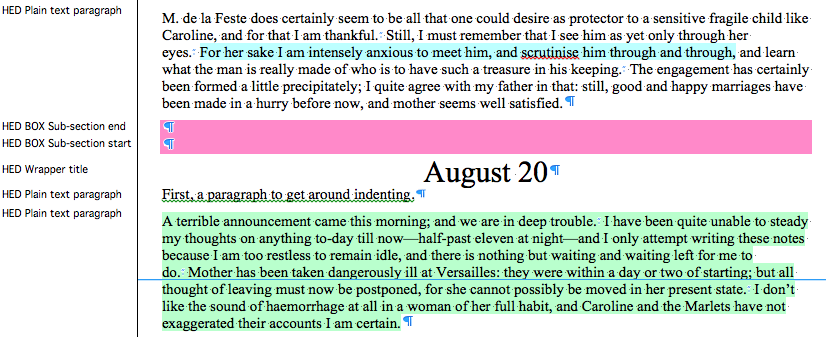
You will undoubtedly find that there are page breaks or line breaks in your PDF that are less than optimal, or lines that are set with too much (or too little) white space. One way to adjust these is to adjust the character spacing in the paragraphs around the bad break, using the Hederis:Convert loosen and tighten character styles:
Select the span of text that you want to loosen or tighten. This can be just a few words in a paragraph, or the whole text of a paragraph (or even multiple paragraphs).
In the Styles pane (see “Fine-tune Word Styles”), choose either “HED SPAN Loosen spacing” or “HED SPAN Tighten spacing”, depending on which you want to do.
The next time you upload your Word file to create a new PDF, you should see that the text is either looser or more compact.
Here’s an example of a single line of text styled with “HED SPAN Loosen spacing”, and an entire paragraph styled with “HED SPAN Tighten spacing”.
Make Changes to a Locked Chapter
You will almost certainly find that you need to make changes to a locked chapter at some point—whether it’s fixing a typo, adjusting the way some text breaks across lines, or tweaking the design of a particular type of paragraph. Fortunately, we have a few tools to help you.
For simple text edits like fixing a typo, you can use Edit Mode in the Design pane to adjust your locked text, without needing to unlock it.
Click the “Enter Edit Mode” button at the top of your screen.
When you hover over a text paragraph, each line is highlighted. Click the line you want to edit to activate the text editor.
Because your text is locked, the paragraph will not reflow as you’re making edits. This means that if you add more text than will fit on the current line, that text will break to the next line, but none of the other lines will reflow to accommodate that, causing a jumble of words on top of words. If you need to make heavier text edits to a paragraph and want it to reflow, but don’t want to unlock the whole chapter, you can unlock just that specific paragraph.
Select some text in the paragraph (it doesn’t matter which text).
Make sure you have the Page Layout tab open, and find the “Unlock Paragraph” button. Click it!
Your paragraph will be unlocked, but the rest of the chapter will stay locked. Make the edits you need.
When you’re done, re-lock that paragraph by selecting some text and clicking the “Re-Lock Paragraph” button.
You can also unlock a paragraph to use all the other Page Layout tools, like tightening and loosening the text, and inserting forced line breaks and page breaks. Just remember to relock each paragraph when you’re done editing it!
Lock chapters to prevent reflow
Locking is a layout feature that allows you to “lock” your line breaks and page breaks into place. This is something that many automation tools are lacking, and makes it easier for you to work with page layouts within an automated workflow framework. For example, you might lock your chapters before sending the PDF out for proofread, so that your text doesn’t reflow before you get the edits back from your proofreader (thus negating all of their work).
In most automated workflows, your text is constantly reflowing whenever you make any sort of change, which means that if you made even a small adjustment between the time that you sent your PDF to the proofreader, and when they returned their edits to you and you went to add them to your book, the page layouts that they reviewed would be out-of-date, and all their page layout edits (like line breaks, loose lines, widows and orphans, etc.) would also be out of date, and they’d need to proofread all over again.
In Hederis, this problem has the potential to get really messy when you have different people working in different browsers. Even when you’re all using Google Chrome (as you should be!), every computer displays things a little bit differently in the browser. This means that just because the page layouts look a certain way to you, doesn’t mean they’ll look the same to someone else on your team. To make sure that everyone is looking at the same page layouts, we introduced this concept of “Locking.”
Why not just keep all pages locked all the time?, you might ask. In an early iteration of our beta, we actually did this, but we found that it was slowing folks down during fast-iteration phases of their workflow (like the design phase, where things are changing quickly and the text needs to reflow just as quickly). We decided to put locking in the hands of the user, but we’re always thinking about how to make the Hederis experience better for users, and this is something we’ll likely revisit in the future.
Currently, locking happens on a chapter level. To lock a chapter:
In the Design pane, open the Page Layout tab.
You should see a button that says “Lock Whole Chapter”—press it!
Your chapter will be locked, and the layouts will be saved so that the next time you build your PDF, those pages will match what you saw in the browser.
