Welcome to the Hederis design demo! This guide will get you up-and-running with our professional book design tools. (Don’t want to dive in? Check out the video here!)
We put together some sample files to help you get started—you can download them here. Imagine you’re a designer, and you’re receiving clean, coded files from your production editorial team. (For non-publishing folks, “clean and coded” means that the text has been copyedited, cleaned up, and all the paragraphs have been labeled as titles, plain text, quotes, and so on.)*
*Our app actually helps with the labeling process too, via machine learning. You can watch a demo of that here.
Go to app.hederis.com and create an account.
If you use a Google account, creating a Hederis account is as simple as signing in with Google, but you also have the option of filling out a sign-up form using any email address, and choosing your own password. Since Typeset is still in beta, we don’t ask for a credit card and there are no extra steps required to sign up aside from confirming your email address.
Create a new Typeset project.
After you sign in, the first thing you should see is your list of projects, which is probably empty. Press the “Create a New Typeset Project” button at the bottom of the screen to create a new project. (You can also create a new Convert project, which is our pure automation product—you can read about it here.)

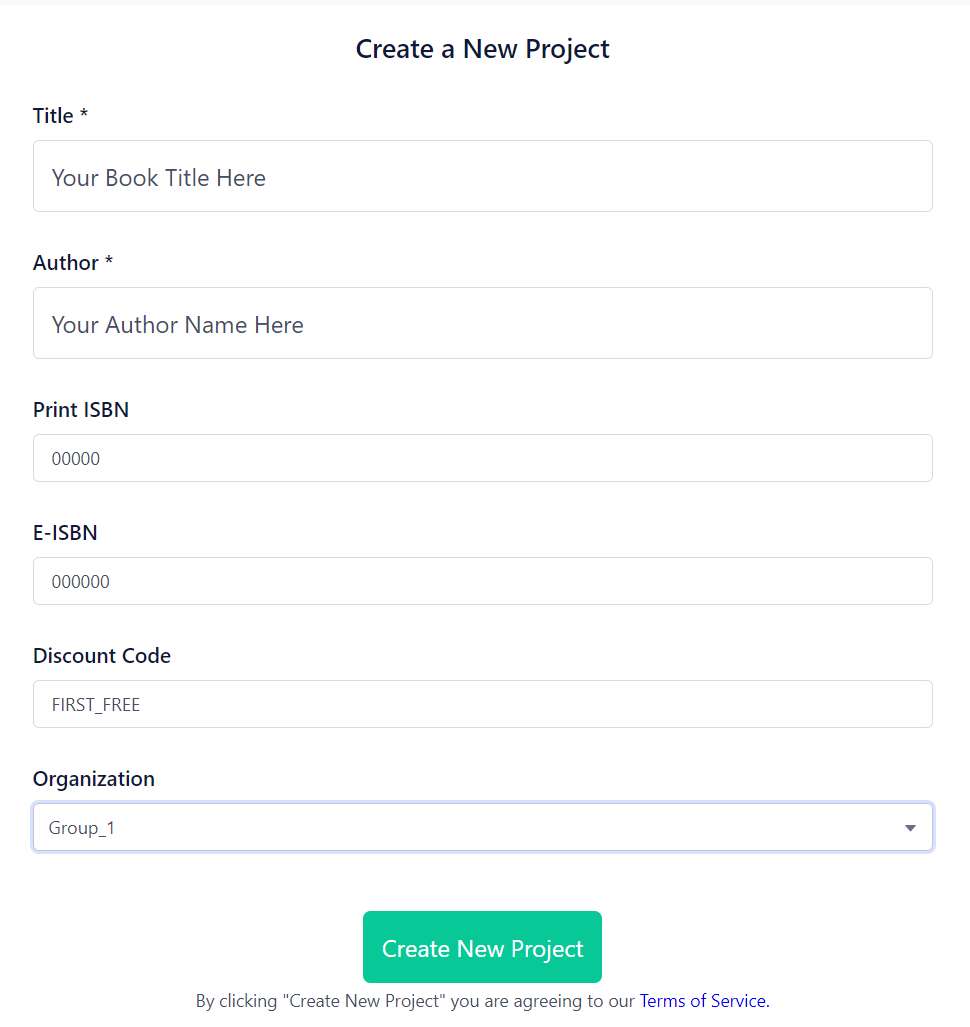
A form will pop up, prompting you to enter a title, author name, and ISBNs. Type anything you like here! If you don’t have an ISBN, you can just type “000000” in those fields.
Click “Create New Project,” and wait to be taken to your new Project Dashboard.
Upload the cover.
After you create your new project, you’ll immediately be taken to your Project Dashboard, where you can manage your book assets (like cover images and Word documents) and set some basic export options that might change frequently.*
*If you get an error saying you don’t have access to your project, try hitting the refresh button on your browser and then try again. #betaproblems :D
Let’s upload a cover now. On the dashboard, click to open up “Step 1: Upload a Cover.”
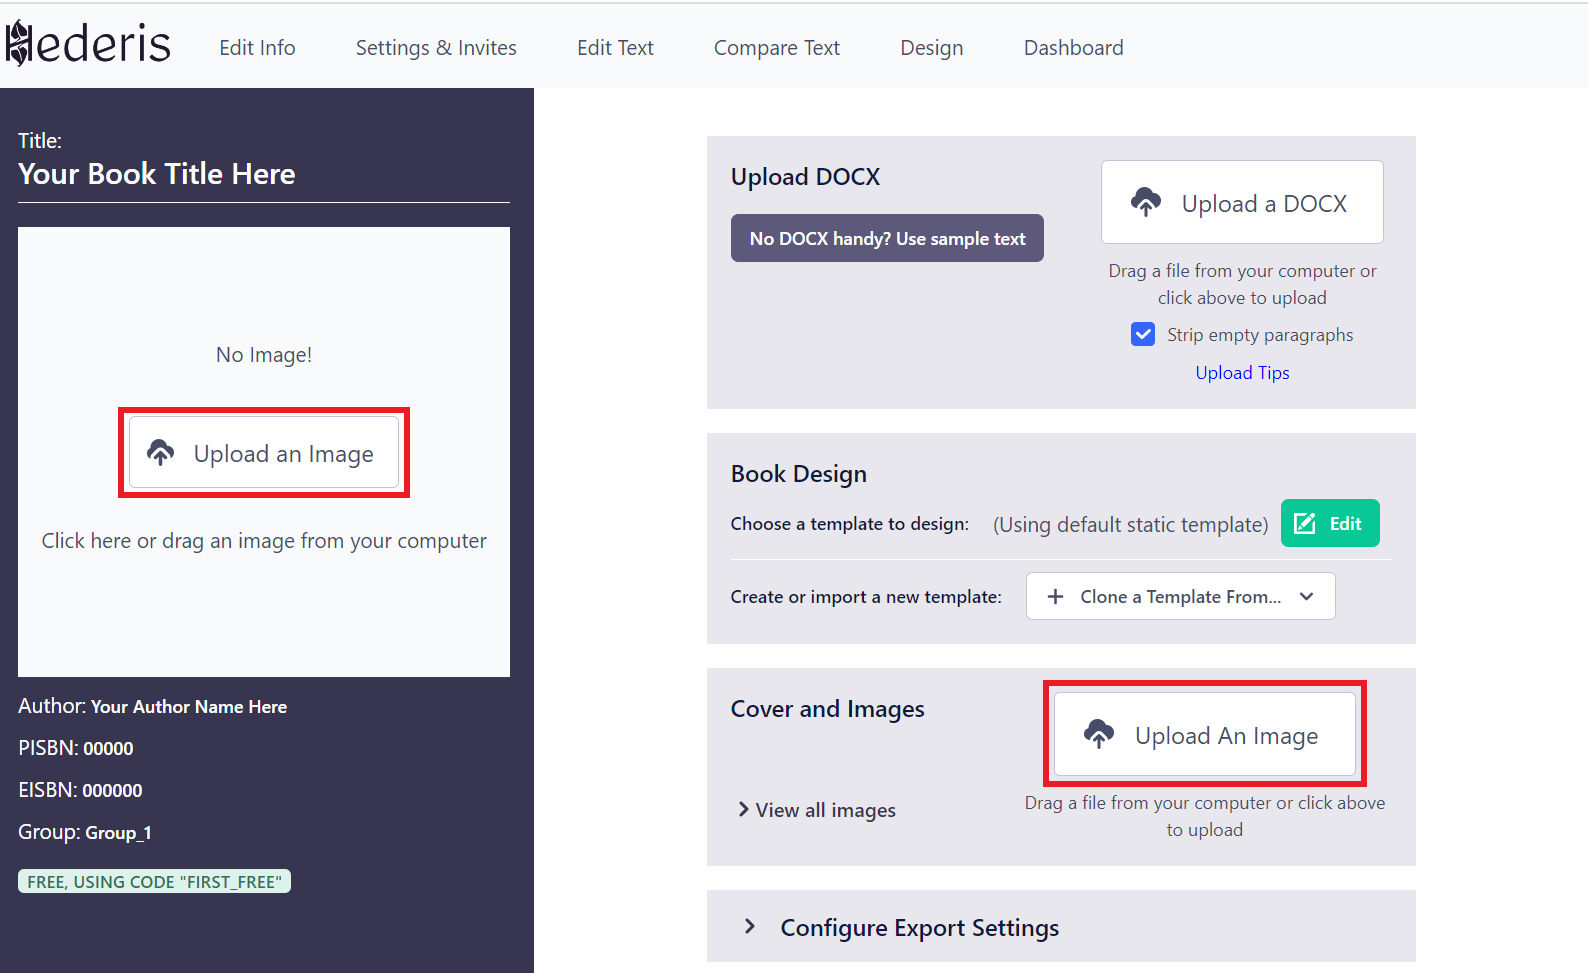
Now, in your downloaded folder of sample files, find the file called “COVER.png,” and drag it onto the browser window. The window should turn gray and the text “Drop File Anywhere” should appear. Go ahead and drop it! You should see your cover show up in the big box at the top left. Now close the “Step 1” menu, and we’ll move on.
Upload the book text.
Uploading book text works pretty similarly to uploading a cover. Open up “Step 3: Upload DOCX,” drag your Word document onto the browser window, and when the window turns gray, release your mouse to drop the file.
Hederis kicks into action, analyzing your book text, doing its best to figure out where the chapter breaks are, where the chapter titles are, and so on, and then converting it to HTML.
When it’s done converting, you’ll see a little message pop up at the top of your screen that says “Conversion Complete!”. Now we can start designing!
Design your book.
Click either the “Step 4” option, or click “Design” in the top right toolbar to open the design tools, and follow the directions in your book text. (If you’re not using our sample text, then check out the documentation here.)
See you later!
Welcome back! Now let’s make a PDF.
Great work on your book design! Now let’s turn it into a PDF that you can send to a printer (or just admire).
Return to your dashboard if you haven’t already (there’s a button in the top right toolbar). Find the green “Rebuild” button beneath your cover, and press it.
Wait a few moments until you get a message that says “Build Complete!”
Then in your list of downloadable files, click to download the PDF. When you open your downloaded file and scroll pages, you can see that the headings and text have all the design settings that you chose, and your running headers and footers are filled with the text and variables you set.
That’s it! Next steps would be to adjust your page breaks (sometimes called “paging” in publishing lingo) to fix any widows or orphans or weird hyphenations that you might have spotted—you can do that in the “Page Layout” menu on the Design tab—read more about that in “Adjusting letter spacing, line breaks, and page breaks (PDF-only)”.
