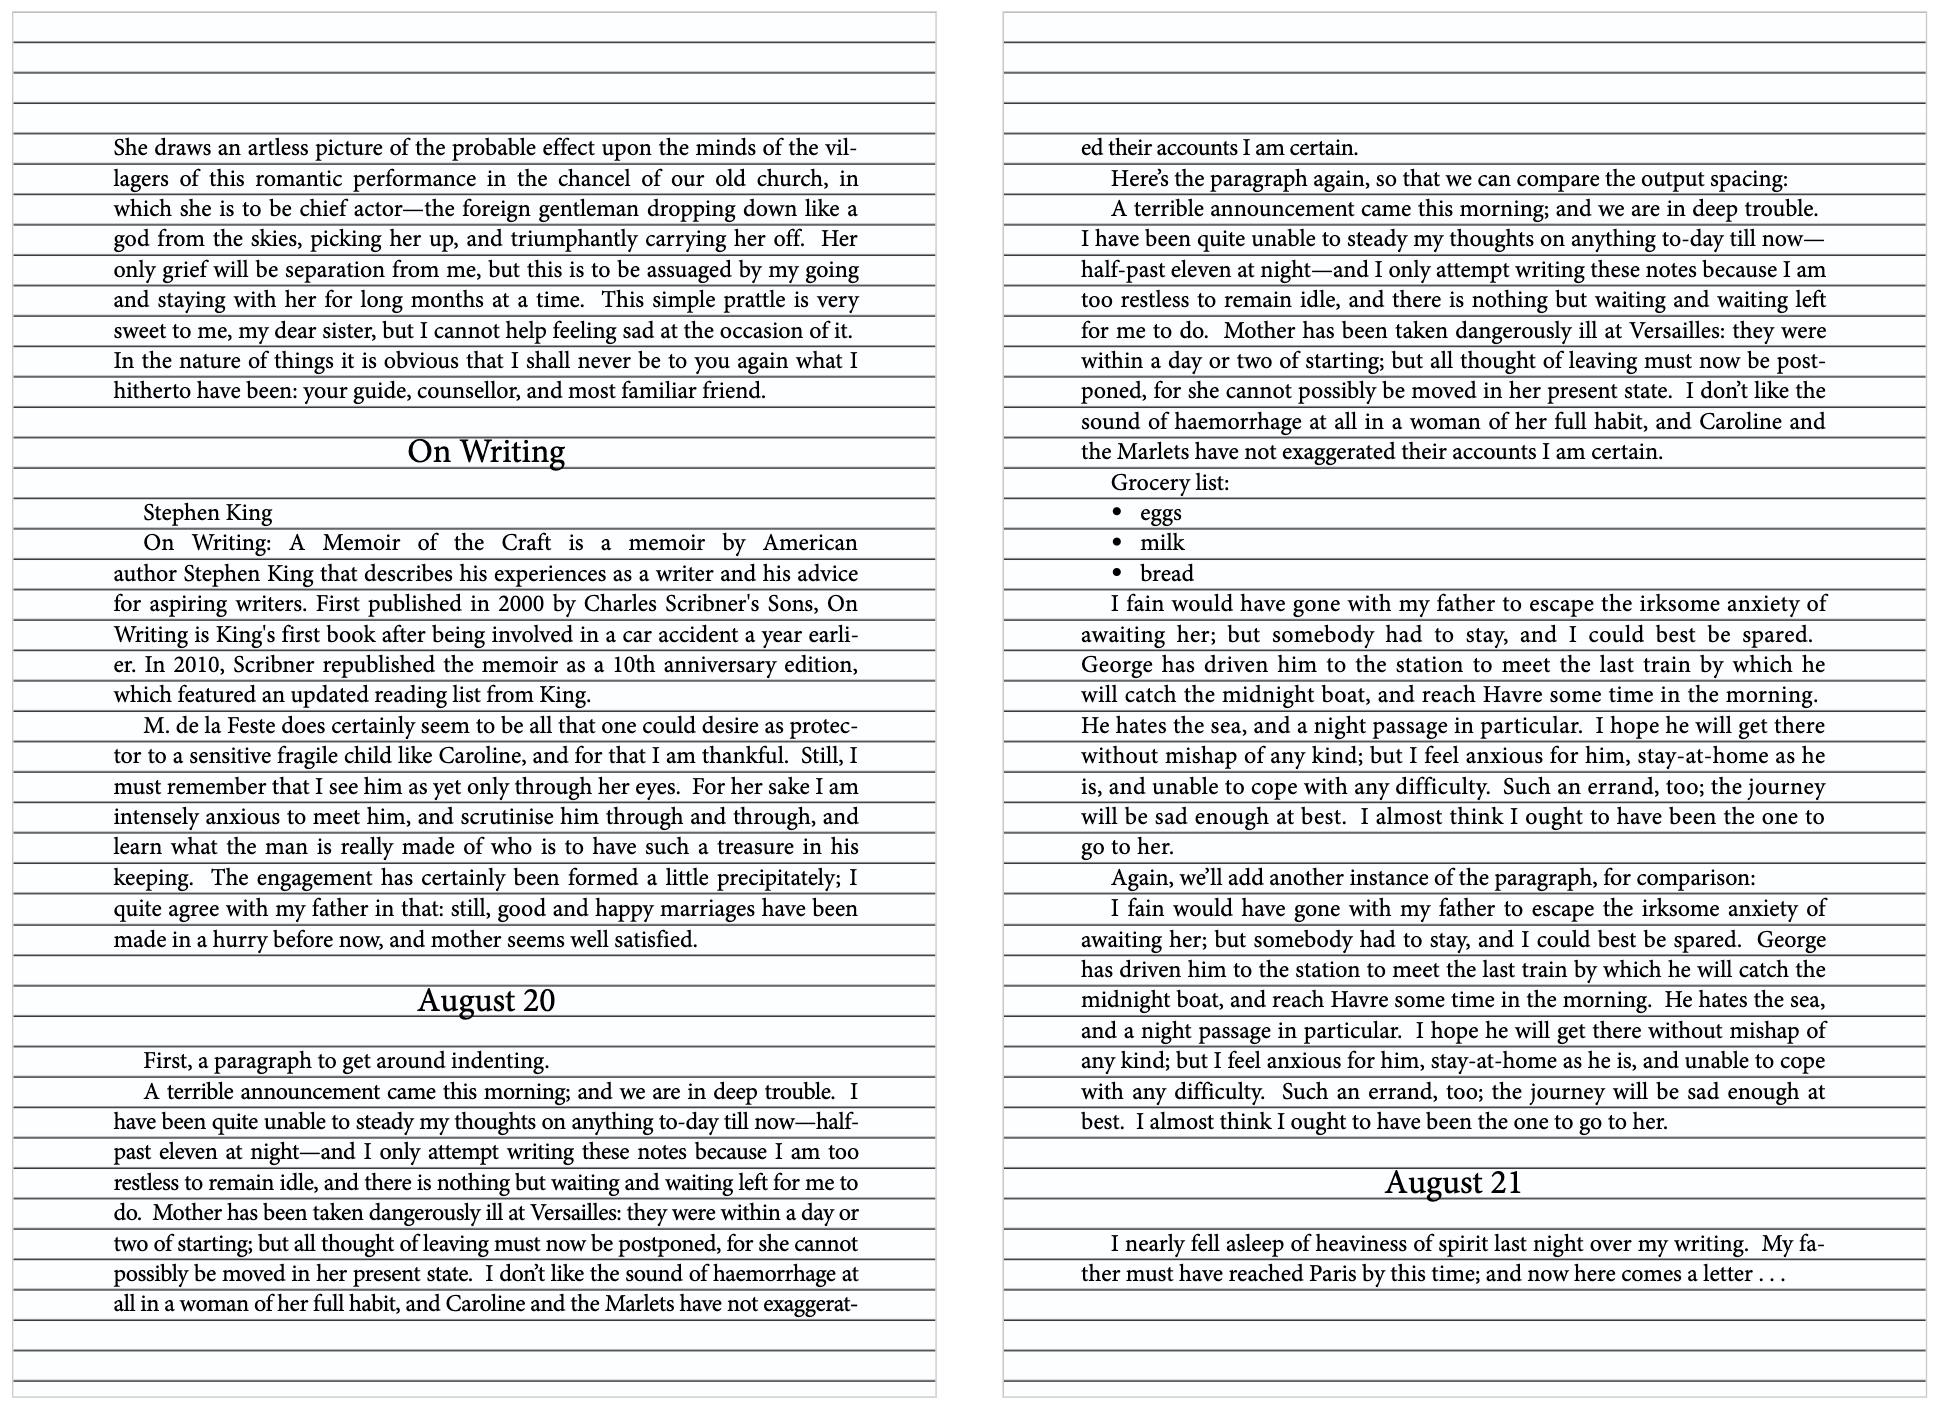
Balanced pages are a hallmark of professional book typesetting. “Balanced” means having the same number of lines on each page, and making sure that the lines on both pages in a spread line up across the spread, like this:
To help you make sure your text lines up, we’ve built in a grid. You can view the grid by clicking the Grid button in the top right of the Design pane, after which you’ll see a grid of horizontal lines running across each page. The height of the grid is determined by the “Line height” option in your General Page Design settings. By default, all text elements will inherit their line heights from this same setting, which helps to make every line of text take up the same amount of vertical space.
You can customize the line height setting for any text element in the Sections & Text menu. However, in order to keep your text lined up on the baseline grid, it’s generally wise to work in multiples (or fractions) of your general line height setting, or to keep the baseline grid on as you’re adjusting things like font sizes, line heights, and spacing, so that you can make sure everything fits the grid as you work.
For example, the following chapter title was set to use a larger type size and line height than the body text (which is still using the line height and font size from the General Page Design menu, rather than being configured separately in the Sections & Text menu). Without adjusting any of the spacing, you can see that these changes to the chapter title have caused the text on the first page to get mis-aligned with the rest of the text in the chapter.
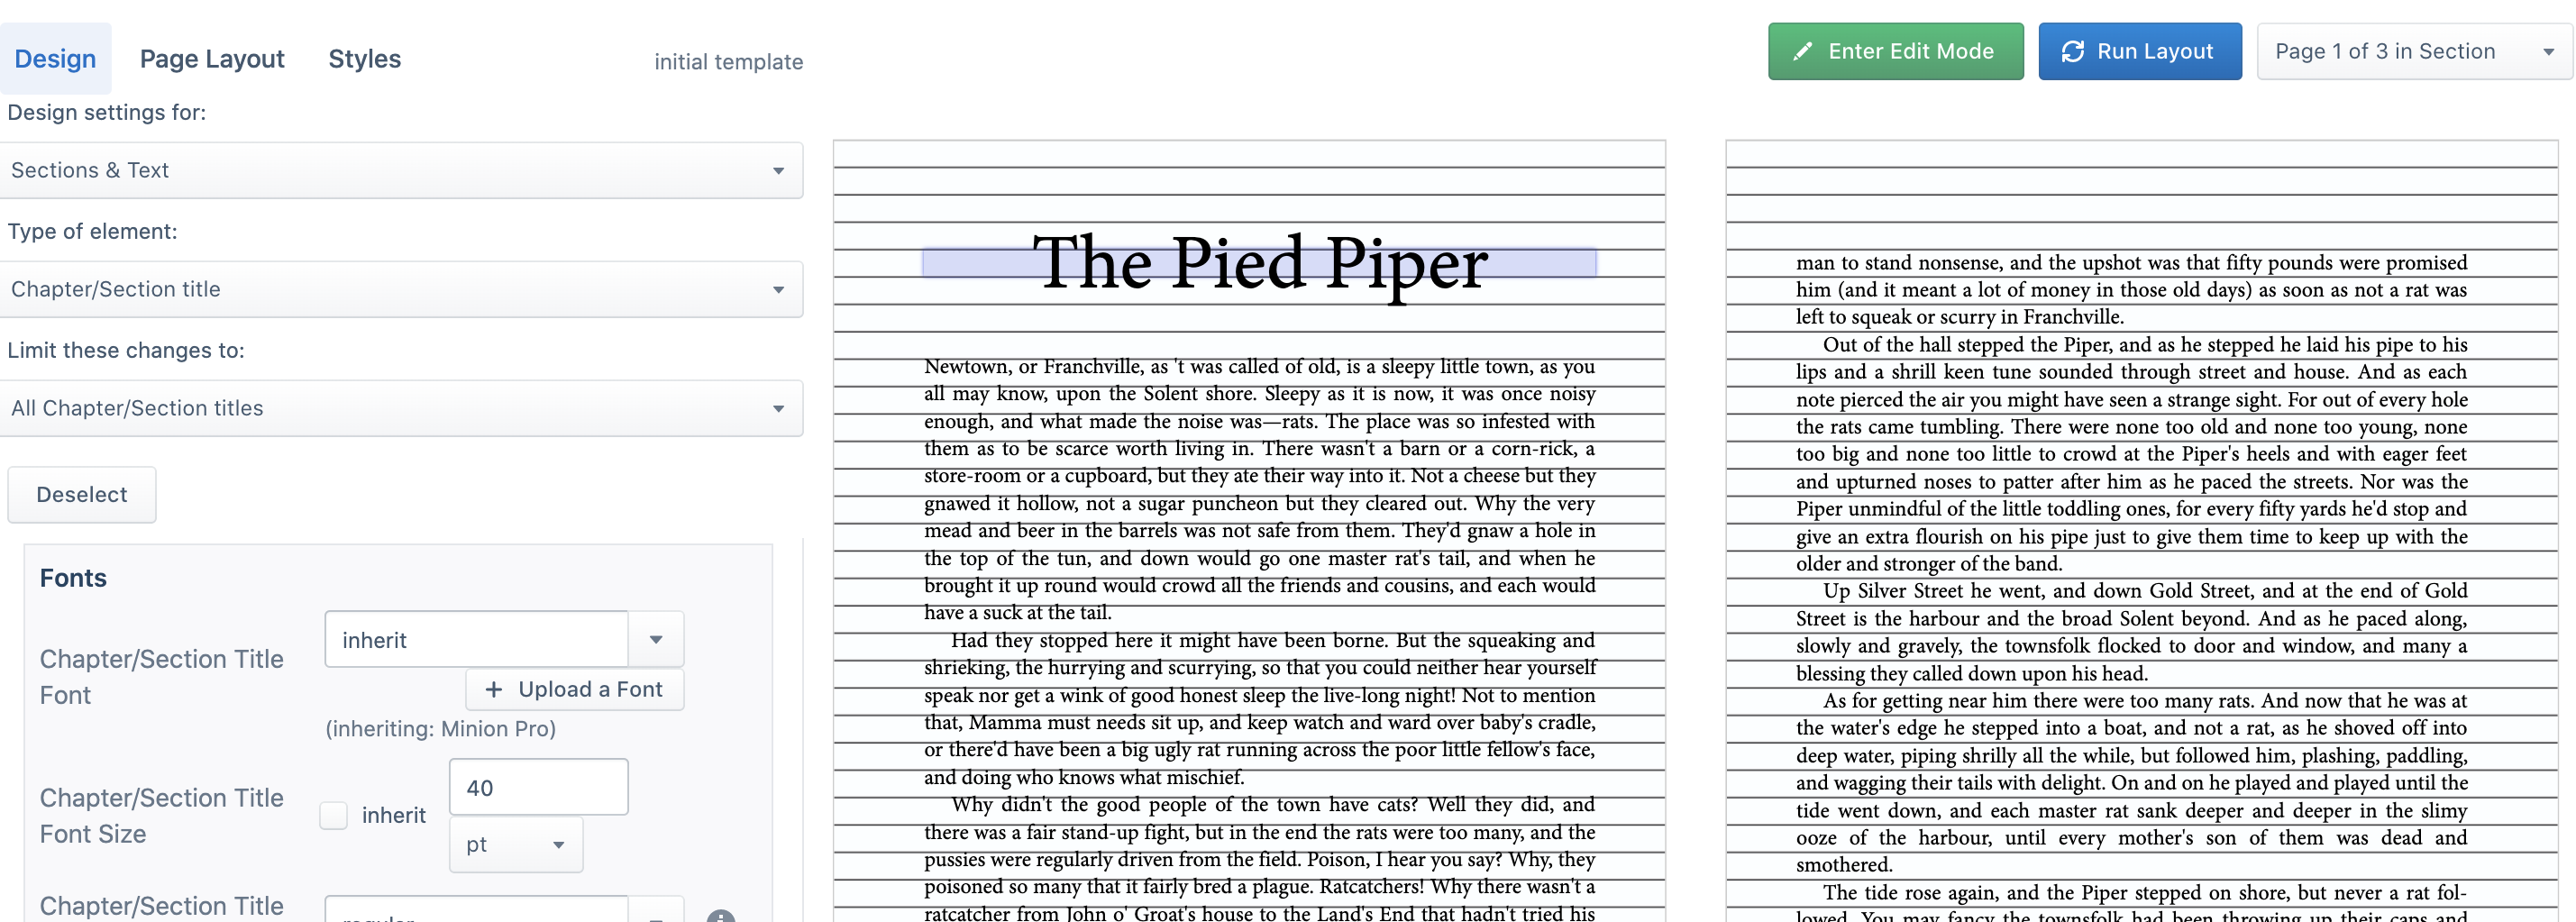
To fix this, we can adjust the spacing below the chapter title, in order to get the following text to fit into the grid as needed:

