Blog
Create a Group
Right now, you need special permissions to be able to create a group. We’re granting those permissions on a per-user basis (but we aren’t restricting folks from being allowed to create groups, so don’t be shy!). To request group-creation permission, email us at info@hederis.com.
EPUB Validation
We recommend that you run the epubcheck validation tool on your files before distribution, to ensure that there are no errors. You can run the standard EPUBCheck validation tool right from your project Dashboard.
Scroll down to find the menu labeled “Validate you files” and click to expand it.
Click the “Validate with EPUBCheck” button, and wait for the validation to finish.
The EPUBCheck results will be printed right there on your Dashboard, along with the book metadata that EPUBCheck detected in your file. This report will disappear when you close the menu option, but you can re-run it at any time.
If there are any validation errors, let us know and we can help you troubleshoot solutions: help@hederis.com
PDF preflight and prepress
PDF preflight is not currently built into Hederis. You should implement a preflight process as recommended by your printer, but we’re happy to help you create a process around preflighting and finalizing your PDFs for printing.
Grayscale images in the PDF
You can choose to convert all images to grayscale for your PDF, by selecting “Grayscale Images” in the “Configure Export Settings” menu item on your project dashboard.
Resize an image in the design preview
You can resize images in the design preview using the Width and Height design options, which are located towards the bottom of the design tools sidebar on the left side of the screen.
To resize just a single image, do the following:
Click on the image in the design preview.
Choose “Only this Image holder” from the Selectors menu (located just below the Style List drop down menu).
Scroll down to find the Width box, and enter your desired width (or height, in the Height box).
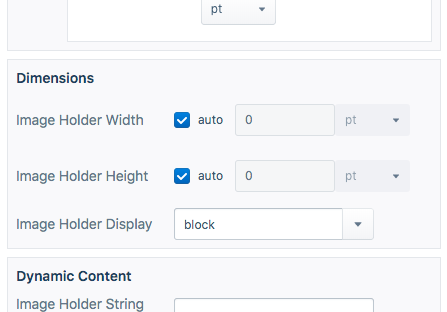
Click Save and Run Layout.
To set all of the images in your book to the same width or height, perform the previous steps, but skip step 2 (the Selectors menu should read “All Image holders”). You can also combine both approaches: set a consistent width or height for all the images in your book, and then set a custom width or height for only certain images as needed.
Include full-page images in the PDF
By default, all images in the PDF will be sized down to fit within your specified margin and page dimensions (see “Adjust PDF trim size and margins”). However, you may designate an image to be “full bleed”, which means that it will take up the entire page and extend into the bleed area beyond the page, creating a graphic that is flush with the edge of the book in the final product. To do so, you’ll need to use a process instruction (see “Add special layout instructions”).
In your Word manuscript, find the “HED Image holder” paragraph that contains your image filename.
Insert a new paragraph below your image holder paragraph, and apply the “HED Processing instruction” style to it.
Type the following text inside your new HED Processing instruction paragraph: IMAGE-SIZE=fullbleed
Your Word manuscript should look like this:

