There are a few different ways you can add an image on the same line as text, but using a background image is probably the tidiest way.
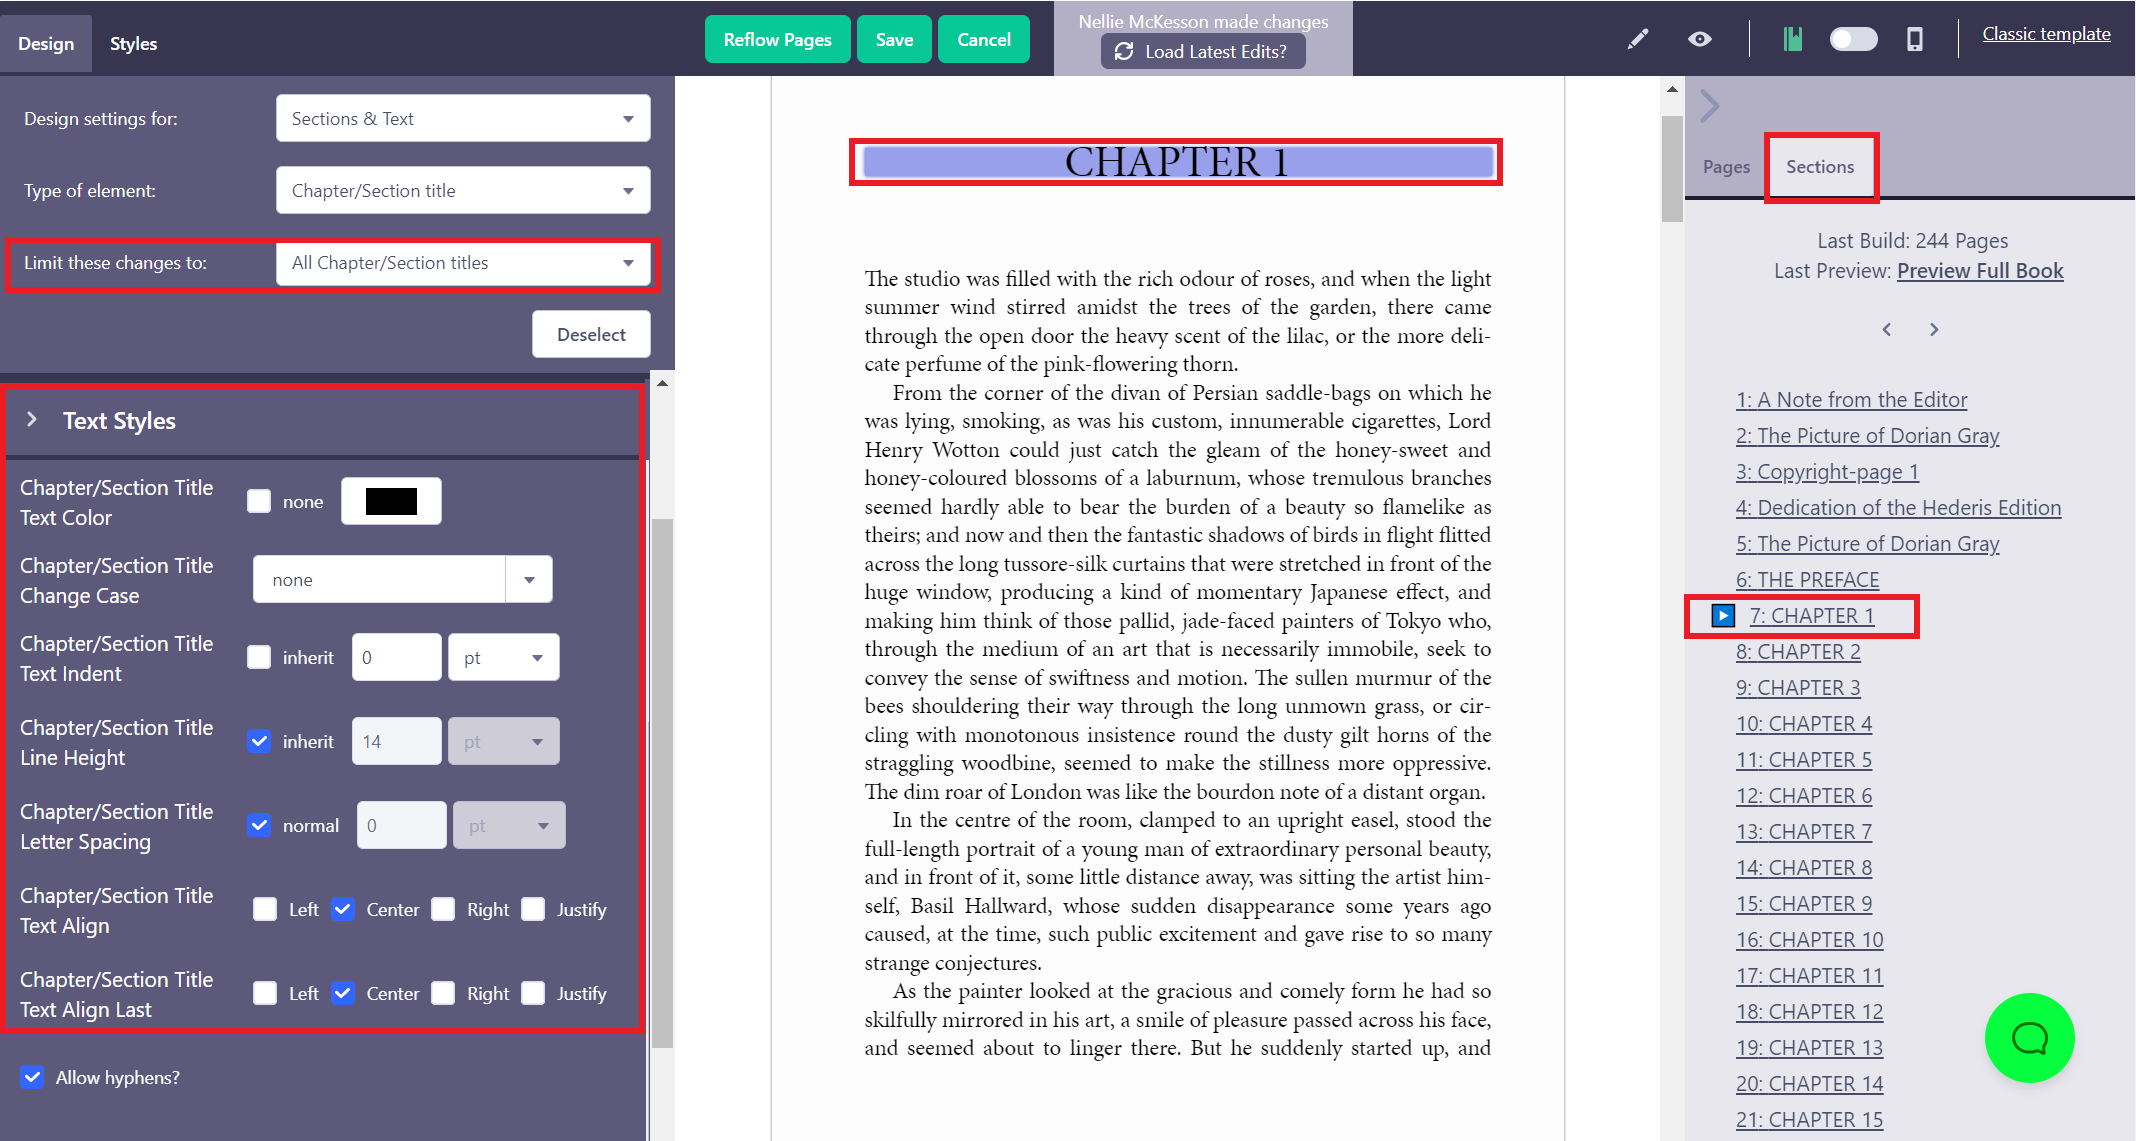
Open the Design pane, navigate to a chapter that you know includes a title paragraph, and make sure you’re on the Design tab.
Open the Sections & Text menu, and choose Chapter/Section title.
If you want to limit your design to a subset of the title paragraphs in your book, click the title text, and then choose the limitation you want to apply (e.g., “Chapter/Section titles inside SECT Chapter”, to limit the design to only the titles that occur inside a “Chapter” section, as opposed to any other sections like Titlepage, Copyright-page, Preface, etc.)
First, set the text settings for your titles. You can come back and adjust these later, but it’ll be easier to layout your ornament if you know how the text is going to look. The most important things to set are your text size and alignment.
Now let’s add the image, and then we’ll deal with getting it to fit. Scroll to the Background menu, and in the Background Image dropdown menu, choose the image you want to use.
Depending on the size of your image, it may look cropped at first, and might even be overlapping the text, but we’ll fix that in a moment. Do your best to set the image to your desired size using the Background Width and Background Height options, but don’t worry about whether you can see the whole thing yet. You can also set one option to a fixed value, and leave the other option set to “auto” to preserve your image’s proportions.
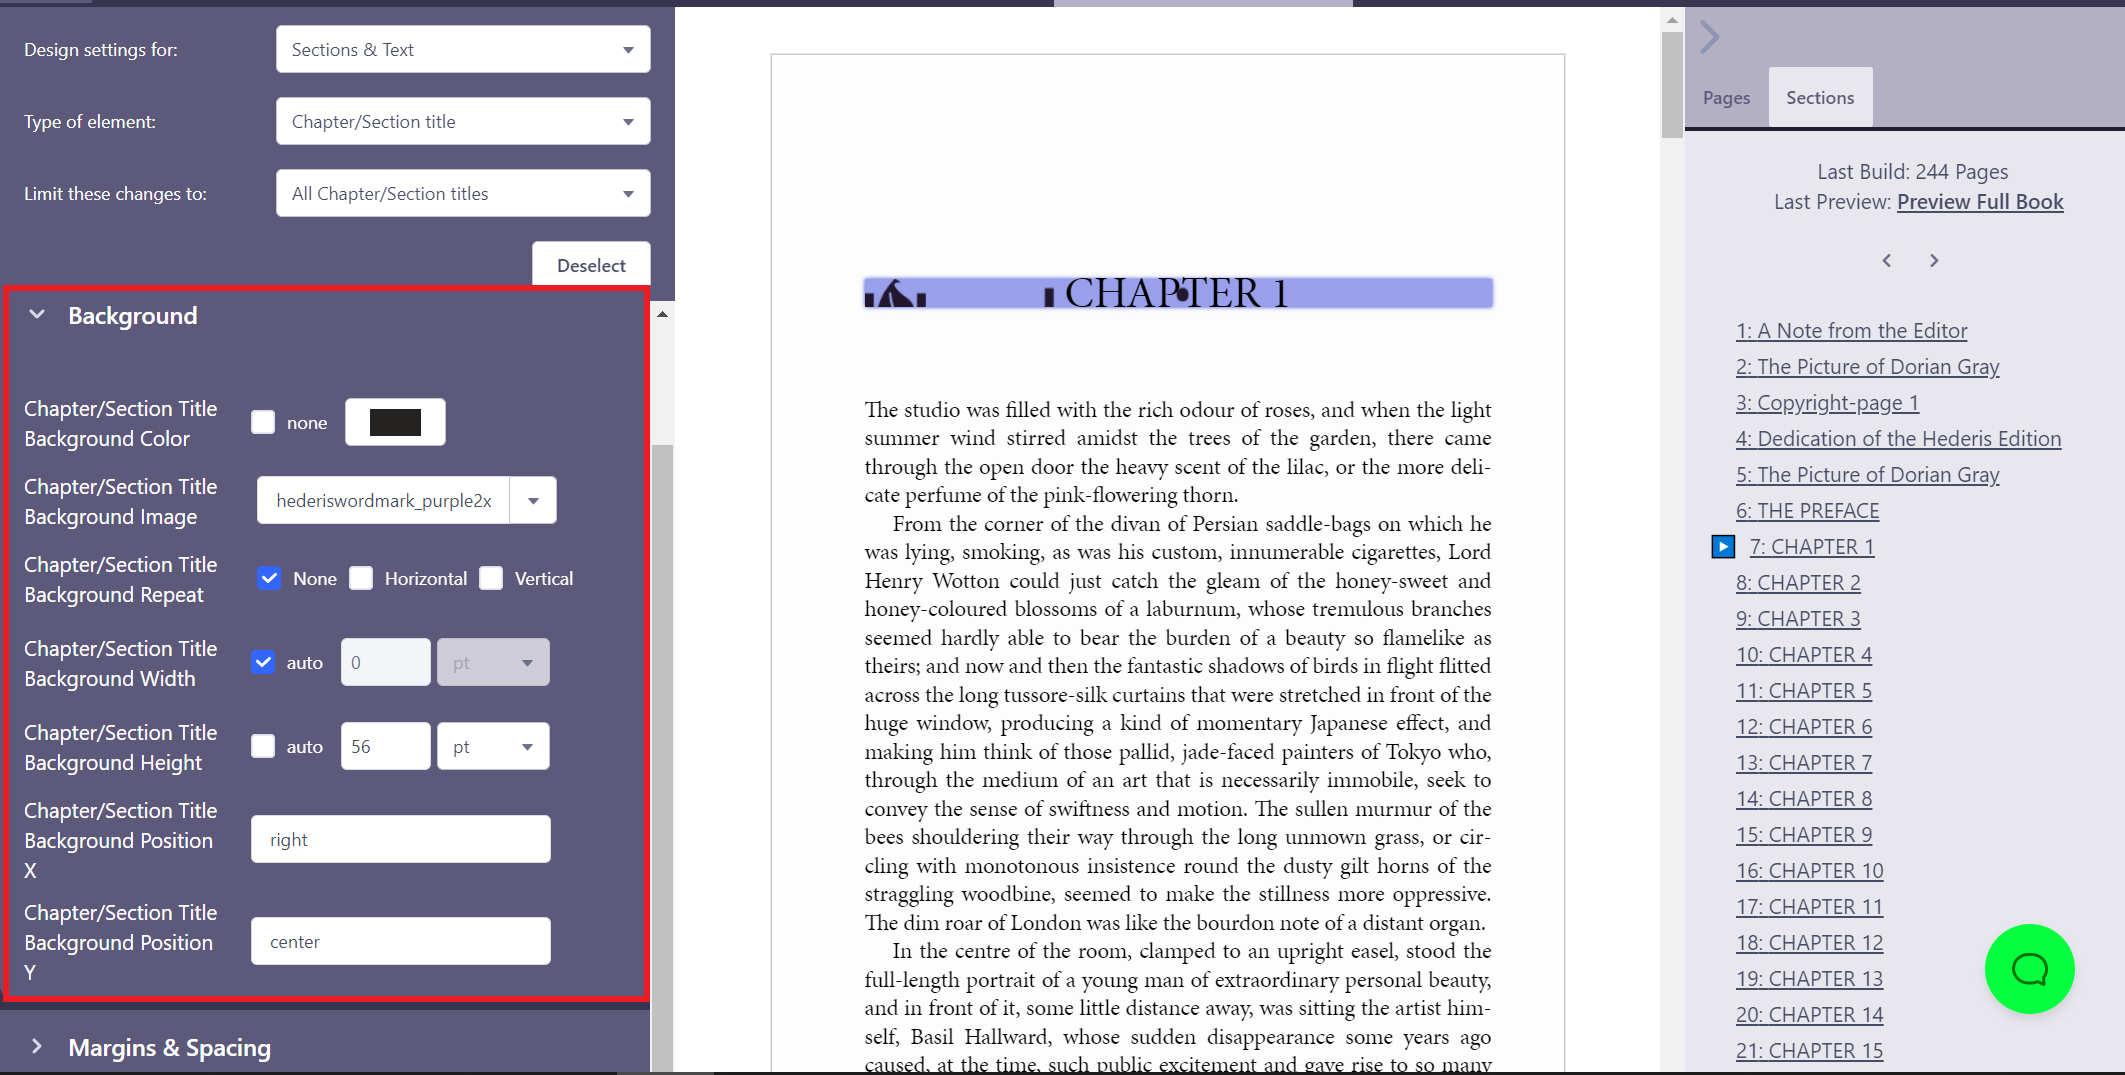
Adjust the position of the image by entering a keyword or number into the Background Position X and Background Position Y boxes (“X” controls the horizontal position, and Y controls the vertical position). You can use the keywords “left”, “center”, and “right” for the X position, and “top”, “center”, and “bottom” for the Y position. You can also enter a number or a percentage, to really fine-tune to position of your image behind your text.
Now let’s make sure we can see our whole image. Scroll down to the Margins & Spacing section, and find the Padding box. The trick to background images is that they will not appear behind any margins you add, but they will appear behind padding space. This means we can use padding to fine tune both how much space is allotted to the image, and how the paragraph text also sits inside that space.
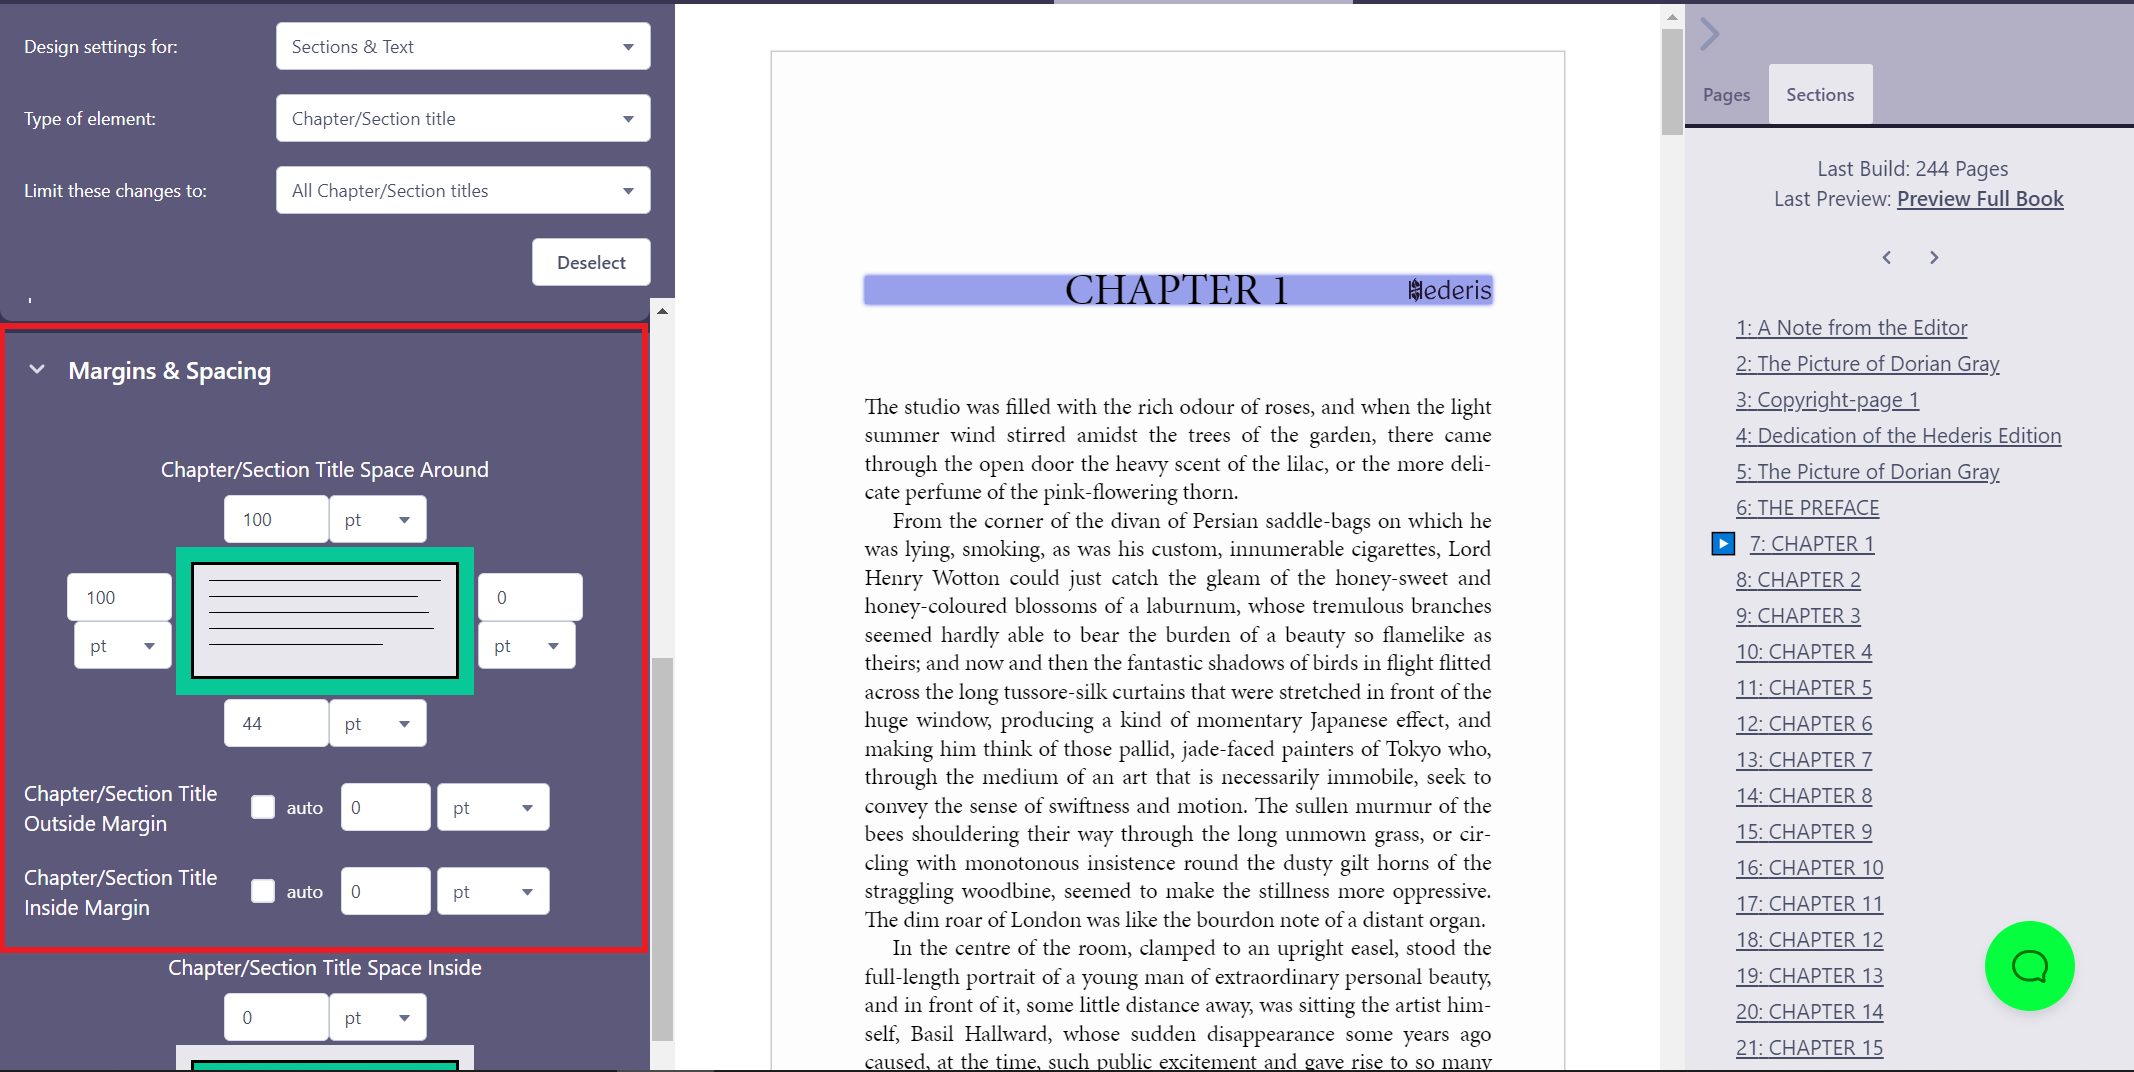
Play around with adding space to your padding boxes to set the alignment of the text and image. For example, if you add more padding on the top, the text will be shifted down towards the bottom of the image. To get the image to appear to the right of the text, add enough padding on the right to fit the whole image.
