You can add a watermark that will appear on every page of your PDF file, as an image watermark that will appear behind the text on each page, or a text watermark that will appear in either the running header/footer, or both (it’s up to you!).
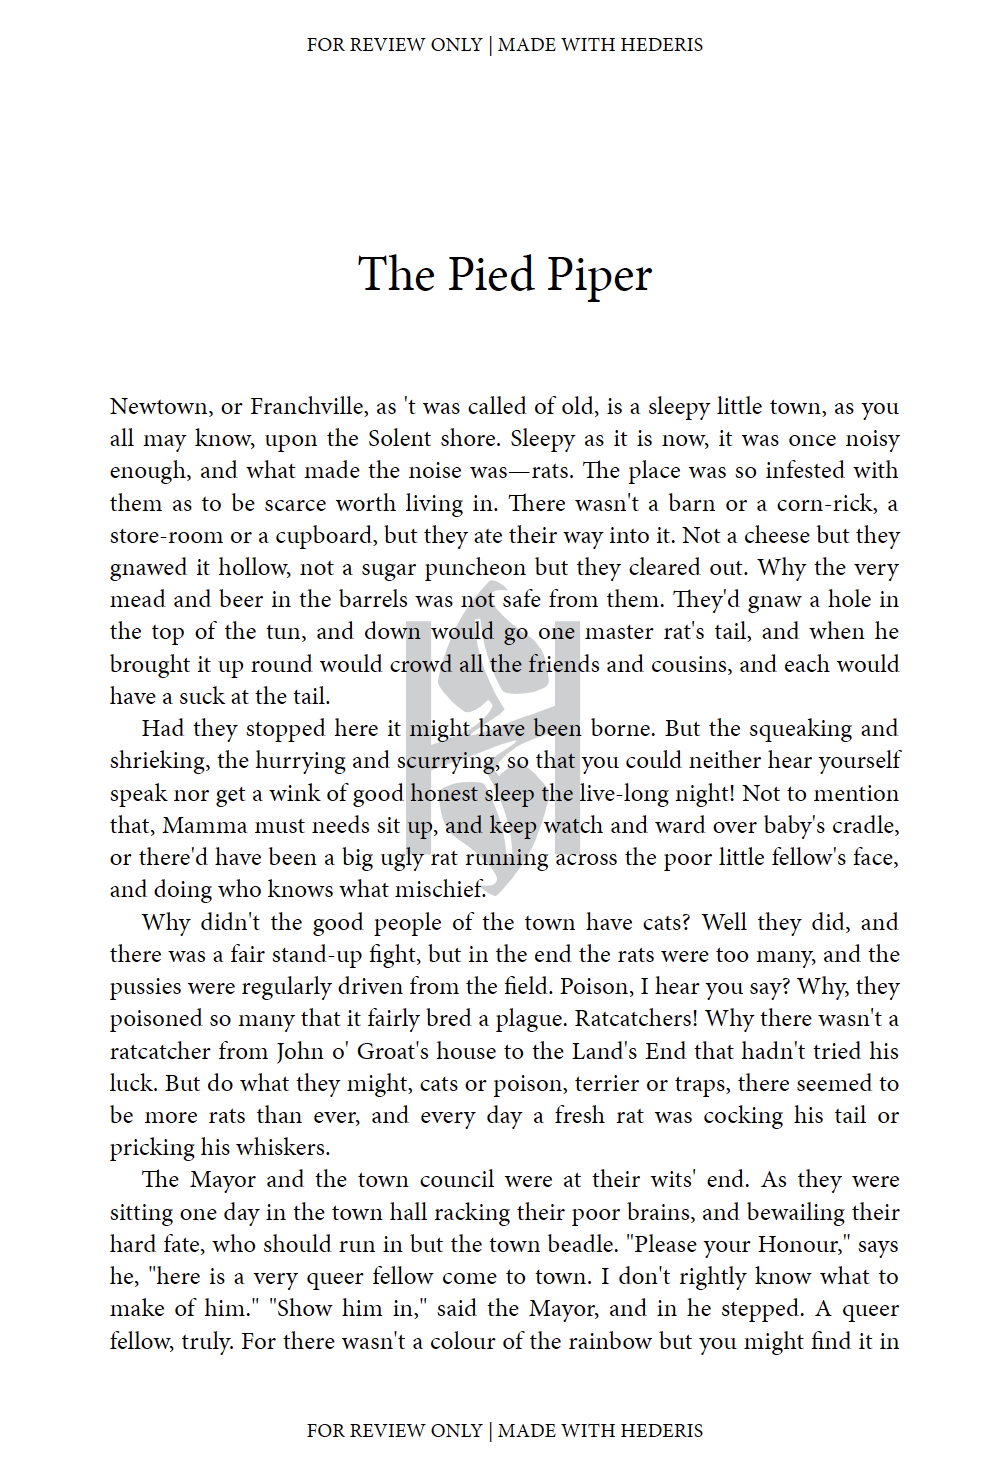
This page includes an example of both a text watermark in the header and footer, and an image watermark behind the book text.
Go to your Project Dashboard and expand the option labeled “Configure Export Settings”. You should see options to configure both the image watermark and the text watermark, as well as some options to adjust the design of your text watermark.
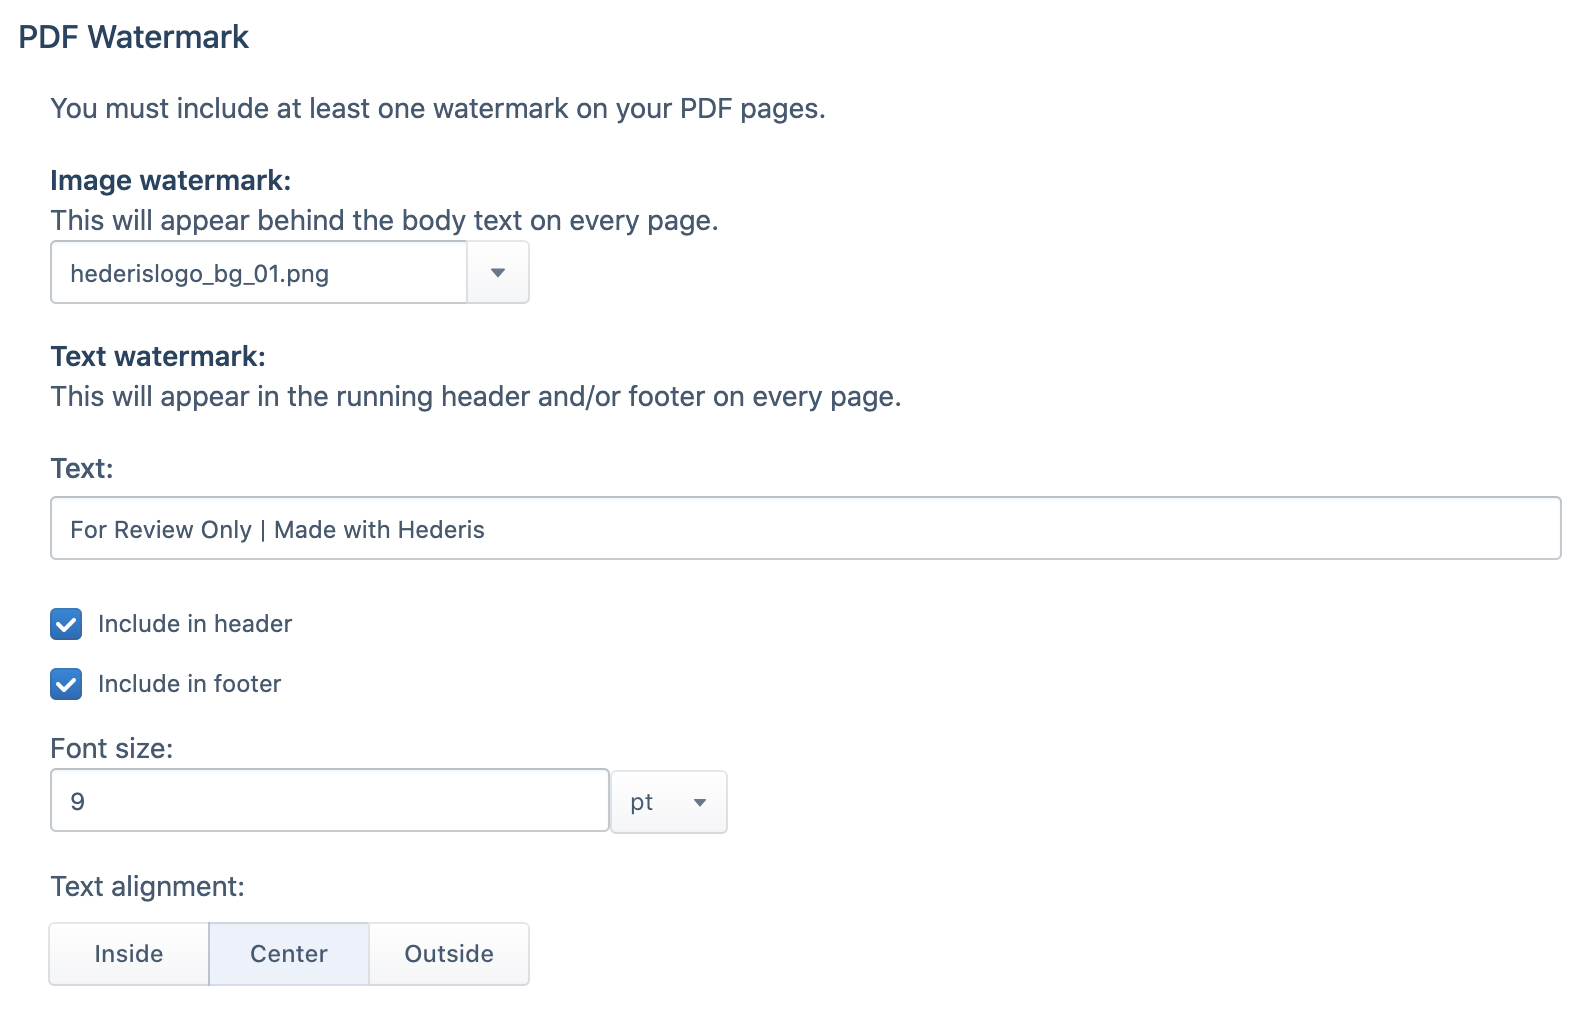
The watermark settings look like this on your project Dashboard.
Image Watermarks
You can upload any image you choose, to use as the watermark behind your text. To add an image watermark, upload the image of your choice the same as you would upload any other image (just drag and drop it onto your project Dashboard), and then select it from the drop-down menu under the watermark settings.
The image will be centered behind each page, and will be sized to 75% of the width of the text page (not counting the margins). Here are some image formatting tips to get the best results:
Use either a PNG or JPG image file.
If you need to have more control over the sizing of your image, place it on a white or transparent background, and size the background to 75% of your page width, minus the width of the left and right margins. This will ensure that your image is placed at exactly the size you require.
If the text in your book is black, use a grayscale image with no areas darker than about 30% black, or a similarly light-colored CMYK image.
If you want text to appear behind each page, simply create the text as an image, and upload that as your image watermark.
Text Watermarks
You can also configure a text watermark that will appear in the running header or footer (or both) on every page. This can be the text of your choice, and you have a few options for how this text will appear.
Note
If you’re working in Galley & Digital mode, you are required to include a watermark in your PDF files. If you don’t configure one, then a default text watermark will automatically be added to the running header of every page. You can remove the text watermark by adding an image watermark, or you can replace the default text with any text you choose.
Text content: Simply type the text you’d like to include. To remove an existing text watermark, simply delete any existing text here and leave this field blank.
Location: You can choose to include the watermark in either the header or footer, or both.
Font size: choose a size for your text; remember that it will appear in all caps in the PDF, so scale it accordingly!
Note
If you’re working in Galley & Digital mode, you can’t set the text watermark font size to anything less than 6pt.
Text alignment: You can horizontally center the text, or align it towards either the inside or outside margin on each page.
